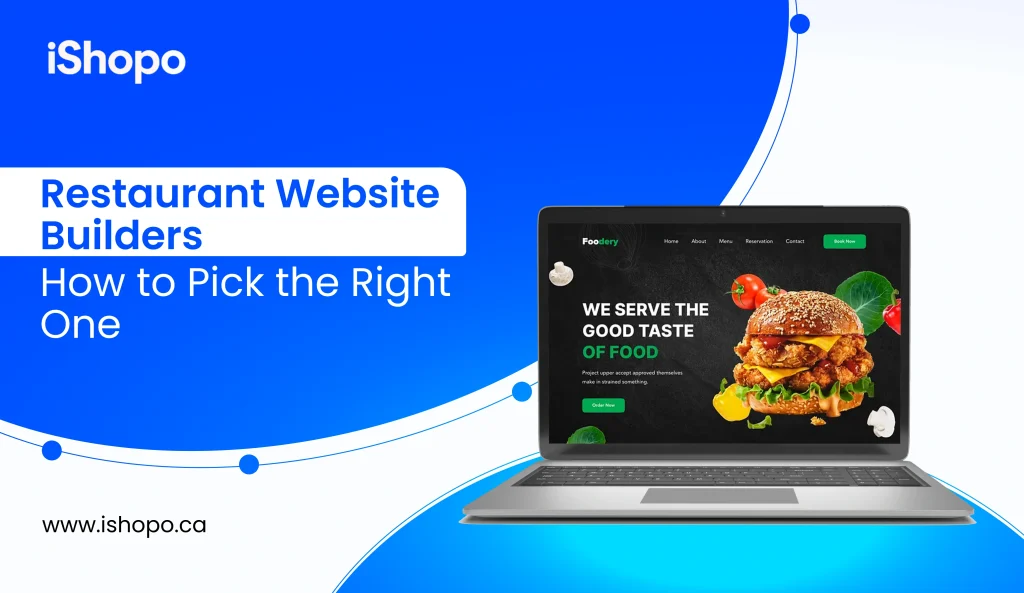

Ready to build a restaurant ordering website that actually sells. Start with a clear goal: fast pages, three-tap checkout, and pickup first. Guests want simple. They want trust. They want to see real photos, clean prices, and an accurately estimated time of arrival.
Use your restaurant website as a home base and keep all channels in sync. Add simple menus, clear allergy notes, and one-click reorders. Connect secure payments, a kitchen printer, and SMS updates so guests feel in control. With a clean website, you own the data, you set the rules, and repeat orders grow week by week.
A good website becomes your main sales lane, not just a brochure. Studies show over 70% of consumers prefer ordering directly from a restaurant’s own website when they have the choice. That is a demand you can own, not rent.
This step-by-step guide keeps things practical. You will map your menu, set up secure payments, and connect a printer at the pass. You will add loyalty that feels natural, not noisy. You will set prep times, zones, and scheduled orders for weekends. We will also cover photos, copy, and SEO basics, so people find you and buy in minutes. In this blog, you will have a working site, a clean flow, and a plan to grow orders week by week.
TL;DR
- Build a fast restaurant ordering website with pickup first.
- Keep one catalog for web, app, and socials.
- Use three-tap checkout, honest ETAs, and clear photos.
- Price transparently; avoid per-order commissions where possible.
- Integrate POS, payments, printers, and delivery tools.
- Review one dashboard weekly and fix three things.
- Guide repeat guests to order directly, not via marketplaces.
Key Points
- A restaurant ordering website should be your primary sales lane, offering fast pages, simple menus, and three-tap mobile checkout.
- Clear ownership of customer data enables loyalty, targeted emails/SMS, and higher repeat rates without heavy discounts.
- Transparent, commission-free pricing plus standard card fees preserves margin and makes cash flow predictable.
- Strong integrations with POS, payments, printers, and delivery keep menus synced, tickets accurate, and handoffs on time.
- A tight menu, honest ETAs, and bright product photos increase conversion and reduce refunds.
- Weekly analytics on orders, average order value, repeat rate, and refunds guide small changes that compound over time.
- Multi-channel ordering must run from one catalog so prices, promos, and refunds match across website, app, and social links.
- Throttling by time window and correct prep times protect quality during peaks and keep pickup on schedule.
- A phased launch pilot, soft launch, then public catches issues early and shortens time to stable operations.
- Marketplaces remain useful for discovery, but repeat customers should be routed to your direct channel with QR cards and pickup perks.
How Much Does a Restaurant Website Cost?
A Restaurant Website can be very cheap or fairly involved, depending on what you include. If you only need a basic site with menu, hours, and contact, builders start around $10–$30 per month, plus a domain for $10–$20 per year. Add hosting and a simple template and you are live fast. Costs rise when you want online ordering, photos shot by a pro, and better SEO. A mid-tier Restaurant Ordering Website with secure payments often runs $50–$150 per month, plus standard card fees of about 2.9% + $0.30 per order. All-in platforms with branding, loyalty, SMS, and reports usually sit near $99–$299 per month, again with card fees on top.
Custom builds cost the most but give full control. Expect $2,000–$10,000 for design and setup, hosting at $20–$50 per month, and upkeep at $100–$500 per month. Do not forget extras. POS integration can add $0–$100 per month. A thermal printer costs about $150–$400. Menu photography may be $200–$1,000, copywriting $300–$800, and SEO setup $300–$1,000. A quick example helps. A $149 per month platform with $12,000 monthly online sales will pay roughly $348 in processing, so about $497 total per month before ads. Start lean, measure orders, then upgrade once repeat sales grow.
| Component / Plan | What’s included | Monthly cost (USD) | One-time cost (USD) | Variable fees |
| DIY site builder | Basic Restaurant Website (menu, hours, contact), template hosting | $10–$30 | — | Domain $10–$20/yr |
| Builder + ordering add-on | Restaurant Ordering Website with checkout, basic loyalty | $50–$150 | — | ~2.9% + $0.30 per order |
| All-in ordering platform | Branded site/app, loyalty, promos, SMS, reports | $99–$299 | — | ~2.9% + $0.30 per order |
| Custom design & build | Custom UX/UI, integrations, SEO setup | $20–$50 hosting | $2,000–$10,000 | ~2.9% + $0.30 per order |
| POS integration | POS menu sync, ticket routing, printer support | $0–$100 | — | — |
| Thermal kitchen printer | Hardware for tickets at the pass | — | $150–$400 | — |
| Pro menu photography | Product shots for web/app | — | $200–$1,000 | — |
| Copywriting | Menu copy, landing pages, CTAs | — | $300–$800 | — |
| SEO setup | Technical + local SEO basics | — | $300–$1,000 | — |
| Domain + SSL | Custom URL + security | — | $10–$20/yr | — |
| Example cost (mid-tier) | $149 platform on $12,000 online sales/month | $149/mo | — | ≈$348 processing |
Also Read: Top Restaurant Review Sites Every Restaurant Owner Should Know
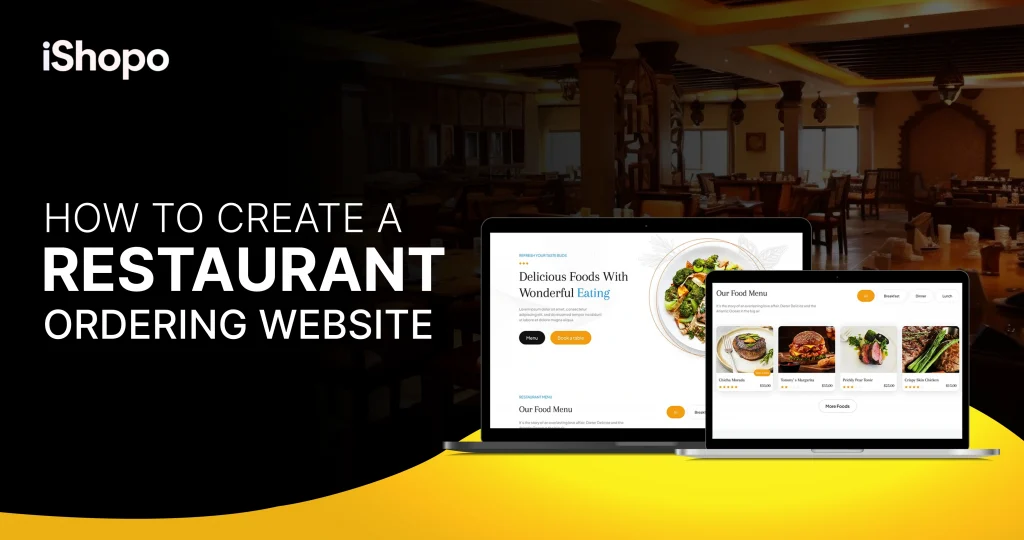
What Are the Steps To Build A Restaurant Website?
Start simple and map the flow first. List menu items, sizes, and modifiers. Mark allergens. Cut slow dishes. Buy a clean domain and secure it with SSL. Pick a platform that supports fast checkout, POS sync, and Apple Pay or Google Pay. Design five pages for your Restaurant Website: Home, Menu, Order Now, Location & Hours, and Contact. Shoot bright photos in one session. Set clear prep times and order throttling. Connect a kitchen printer and test refunds. Add pickup notes, SMS updates, and guest checkout. Launch software for three days, then go public. Review orders, AOV, repeats, and refunds weekly. Fix three small things, then repeat.
Step 1: Map Your Menu and Ordering Flow
Start on paper. List every item, size, and modifier. Mark allergens and combos. Cut slow movers. Keep a tight list for launch, then add later. Decide “pickup first” or “delivery too.” Set prep times for each dish. Note peak hours and a simple throttle rule, like “15 orders per 15 minutes.”
Plan the guest path. Home → menu → item → modifiers → cart → checkout. Three taps to pay is the goal. Write clear names, short descriptions, and clean prices. Add one smart upsell per item, not five. Show allergy tags and popular picks.
Prepare ops. Assign where each ticket prints, who bags, and who checks items. Add labels for name, order number, and notes. Set photos you can shoot in one session: bright, close, real. When this is ready, you can load it into your Restaurant Ordering Website and keep your Restaurant Website pages in sync. A clean menu and flow save time, cut errors, and lift conversion from day one.
Step 2: Pick your Platform, Domain, and Tools
Choose a platform that fits your team and budget. List must-haves: fast checkout, pickup first, secure payments, POS sync, and order throttling. Check real demos on the phone. Pages should load quickly. Three taps to pay. Shortlist two options and compare all-in cost per $50 ticket.
Set your domain. Pick a short, clean name. Buy SSL so every page runs on HTTPS. Point the domain to your Restaurant Ordering Website and keep a simple home page on your Restaurant Website that sends people to “Order Now.”
Wire the core tools:
- Payments: enable cards, Apple Pay, Google Pay.
- Printers: connect a thermal printer at the pass.
- Taxes, tips, and receipts: set clear rules and test a refund.
- Notifications: SMS or email for order status.
Run a one-week pilot. Place 10 test orders at peak. Check kitchen tickets, prep times, and bag labels. Fix what breaks, then move to a soft launch.
Step 3: Build Pages, Branding, and Checkout
Set your basics first. On your Restaurant Website, create Home, Menu, Order Now, Location & Hours, and Contact. Keep the copy short. Put “Order Now” in the header and footer. On your Restaurant Ordering Website, use the same logo, colors, and tone so it feels like one brand.
Make the menu scannable. Group items by meals. Use clear names, 1–2 line descriptions, and clean prices. Add allergy tags and a “popular” badge on top sellers. Set one smart upsell per item, like “add fries for $2.” Turn on guest checkout and saved cards.
Fix photos in one shoot. Bright, close, no filters. One hero image per item. Test load time on 4G.
Tighten checkout. Aim for three taps to pay. Enable Apple Pay and Google Pay. Show honest ETAs, pickup notes, and driver instructions. Send a clean confirmation with order number and store phone.
Before launch, place 5–10 end-to-end test orders. Check tickets, labels, bagging, and refunds. If anything feels slow or unclear, rewrite it now. Clean pages and a smooth checkout raise conversion from day one.
Also Check: Restaurant App vs. Website: What Do You Really Need?
Step 4: Connect POS, Operations, and Throttling
Sync your menus to the POS so prices, and taxes match. Map each item to a printer: grill, fryer, salad, and a copy at the pass. Set default prep times and use throttling, for example “max 12 orders per 15 minutes.” This keeps quality steady at rush.
Define pickup flow. One shelf for A–M, one for N–Z. Big order number on the bag. Add a “Ready” text with the pickup door and parking hint. For delivery, set zones by time, not distance. Promise only what your drivers can reach in 25 minutes.
Train the team with simple roles. One packs, one checks, one hands off. Use a checklist: ticket, cutlery, sauces, seal, name. Run five live test orders at lunch and dinner. Fix any choke points.
Turn on refunds and partial credits. Test one before launch. Set tips, receipts, and cash drawer rules. Keep a small “ops board” with prep times, 86s, and notes. When your POS, printers, and throttling are tight, your Restaurant Ordering Website will run smoothly on day one.
Step 5: Launch, Promote, and Measure
Go live in two phases. Do a soft launch for three days with friends, staff, and loyal guests. Share a private link to your Restaurant Ordering Website and ask for quick notes on speed, photos, and checkout. Fix small issues the same day. Then switch to public launch on your Restaurant Website with a clean “Order Now” banner.
Promote simple and local. Update Google Business Profile with the Order link. Add a QR on menus, bags, and the door. Post one photo + one offer on Instagram and Facebook. Keep perks small: “Free dip on pickup this week,” not deep discounts. Hand a pickup card that says, “Reorder online next time.”
Measure daily for the first week:
- Orders, AOV, refund rate, and on-time pickup.
- Top sellers, dead items, and upsell attach rate.
- Queue at the pass and driver wait times.
Make three changes max per day. Nudge photos, prep times, or upsells, then recheck tomorrow. Small fixes add up fast.
Step 6: Optimize weekly, then scale
Lock a simple rhythm. Every Monday, open your dashboard and review four numbers: orders, average order value, repeat rate, and refunds. Check top sellers, dead items, and upsell attach rate. If one dish drags, rewrite the name, swap the photo, or cut it. If pickup slips, tighten prep times by two minutes and recheck tomorrow. Small moves, quick checks.
Strengthen your Restaurant Ordering Website flow. Add one clean bundle that lifts ticket size by a few dollars. Test a timed offer for slow hours. Rotate one seasonal photo on the home screen. Keep guest checkout on. If cart abandon rises, shorten the form and enable Apple Pay and Google Pay.
Scale what works. Add a second delivery zone only if on-time rates stay high. Open scheduled orders for weekends. Launch a tiny catering page on your Restaurant Website with three fixed trays. Turn on simple loyalty after week two. Send one weekly email: new item, pickup perk, one photo. Measure, adjust, repeat. This slow, steady loop compounds into higher margin and calmer service.
Step 7: Retain customers with loyalty, CRM, and local SEO
Keep the guests you win. Start with simple loyalty: points or stamps that unlock a small perk after a few orders. Make it easy to join at checkout and in one tap from your Order Now page. Send one weekly email or SMS with a single photo, one new item, and a pickup perk. No spam, no long copy.
Build a light CRM. Tag first-timers, repeat buyers, and lapsed guests. Nudge each group differently: a welcome note, a “we miss you” offer, or a bundle suggestion based on past buys. Keep discounts small and time-boxed. Track redemptions and turn off weak promos fast.
Tidy your local SEO. Update your Google Business Profile with order links, fresh photos, hours, and menu highlights. Add location pages on your website with clear directions and parking notes. Use consistent NAP (name, address, phone) across listings. Ask happy pickup guests for a review with a QR on the bag. Reviews lift rank, clicks, and conversions so loyalty and SEO keep your flywheel turning.
Step 8: Secure payments, privacy, and uptime
Protect trust from day one on your restaurant website. Turn on HTTPS for every page. Use a gateway with PCI-DSS and tokenized cards. Enable two-factor login for staff. Limit refunds and reports to managers only.
Collect only what you need on your restaurant ordering website. Name, phone, email. Add clear consent boxes for email and SMS. Share a short privacy note in plain words. Let guests remove saved cards and addresses in one click.
Monitor uptime. Bookmark the platform status page. Set alerts for outages or slowdowns. If there is a blip, post on Google Business Profile and social with a pickup phone number. Keep a simple fallback: printed menu, card reader, and a manual ticket pad.
Do a monthly security check. Rotate staff passwords. Close old accounts. Review access logs. Test a refund and a chargeback workflow. Good security stays quiet. Guests feel safe. Orders keep moving. Your brand stays strong.
Read Also: 35 Best Restaurant Marketing Ideas to Boost Sales
Step 9: Track ROI and plan upgrades
Make decisions with numbers, not guesswork. Set one weekly sheet with orders, average order value, repeat rate, on-time pickup, and refund rate. Add a “blended take rate” line: total platform and processing costs ÷ total online sales. If this number rises, fix photos, tighten prep times, or nudge more pickup.
Run a simple ROI check each month. Example: 720 orders × $22 AOV = $15,840 sales. Subtract processing, promos you funded, refunds, and packaging. What is left must cover labor and rent. If profit is thin, adjust zones, add a bundle, or raise prices on delivery-only items by small steps.
Plan upgrades by milestones. When repeat rate passes 35%, add a light loyalty perk. When cart abandon is high, shorten checkout and turn on Apple Pay/Google Pay. When the kitchen stays on-time at peak for 30 days, open scheduled orders and a small catering page on your Restaurant Website. If a second area shows demand and on-time rates stay strong, add one new delivery zone. Grow in small moves. Measure, adjust, repeat.
Step 10: 30-Day Launch Checklist and Cadence
Lock a simple routine so momentum does not fade after launch. In week 1, stabilize speed and accuracy. In week 2, polish photos and copy. In week 3, add one small offer that lifts ticket size. In week 4, tighten zones and prep times based on real data. Keep your order now link prominent on your Restaurant Website and review one dashboard, the same day each week.
Step 11: Common pitfalls and quick fixes
Many launches stumble on simple things, not hard tech. Menus start bloated. Guests scroll and drop. Fix it by cutting to a tight list and one hero per category. Mobile checkout is the next leak. Long forms, missing guest mode, and no Apple Pay or Google Pay slow people down. Shorten fields, keep guest checkout on, and aim for three taps to pay. Photos matter more than we think. Dark, busy shots do not sell. Reshoot in daylight, tight crop, no filters, and use plain names people understand. Late bags come from bad prep times and no throttling. Set defaults per item, then cap intake per 15 minutes so the kitchen breathes. Price gaps across channels break trust. Keep one catalog and push pickup perks instead of random discounts. After the first order, silence kills repeat use. Collect consented email or SMS, then send one weekly note with one photo and a small pickup perk. Finally, read your numbers every Monday. Orders, average order value, repeat rate, and refunds. Make three fixes, not thirty. Recheck next week. Small steady steps win.
Step 12: Ready-to-use templates and snippets
Use these templates to launch fast and fix faster. Start with the menu sheet. List each item, a 12–18 word description, price, modifiers, allergens, and prep time. That one page becomes your live catalog and cuts errors. Next, run one photo session by a window. Shoot one hero per best seller, a side angle, and an ingredient close-up. Export small JPGs so pages load quick. Keep checkout fields short: name, mobile, order type, address if delivery, and Apple Pay or Google Pay. Print a clean bag label with order number, name, pickup time, and a QR that links to reorder. Track a weekly KPI sheet: orders, AOV, repeat rate, refunds, on-time pickup, top items, and what you changed. Post a simple launch note on Google and Instagram, then add a tiny loyalty rule: five orders, one small add-on free. Throttle peak intake to protect quality, and adjust by two minutes if on-time slips. Small tools, steady rhythm, better results.
Step 13: FAQs and quick troubleshooting
If direct orders feel slow, put “Order Now” in header and footer, add a QR on bags and the door, and offer a small pickup perk for first-timers this week. High checkout drop-off usually means long forms, so keep guest checkout on, enable Apple Pay and Google Pay, and aim for three taps to pay. If items do not sell, reshoot photos in daylight with a tight crop, rename dishes in plain words, and lead with your hero item in each category. Driver waiting and late bags point to wrong prep times; add throttling, set zones by time, and assign one person to bag-and-check at peak. Rising refunds on one dish mean fix the recipe, portion tool, or packaging, then cut it if complaints stay. Keep one catalog so prices match across channels, and nudge pickup with a clear perk. Low repeat rate needs simple loyalty and one weekly email or SMS. If pages feel slow, compress images under 200 KB and test on 4G until loads are under three seconds.
Step 14: 30/60/90-day Growth Plan
Days 1–30 (Stabilize and convert)
Hold a weekly review of orders, AOV, repeat rate, and refunds. Fix slow photos and confusing names. Keep guest checkout on, enable Apple Pay/Google Pay, and trim fields. Add one bundle and one pickup perk. Tighten prep times and throttling until on-time pickup stays above 90%.
Days 31–60 (Scale what works)
Turn on scheduled orders for weekends. Launch a tiny catering page with three trays. Add one seasonal hero photo on the home screen. Start simple loyalty (stamps or points). Send one weekly email/SMS: one photo, one new item, one perk. If on-time rates stay strong, open one new delivery zone.
Days 61–90 (Optimize and expand)
Split reports by channel and item. Retire dead SKUs, promote top add-ons, and standardize combos. Test two-week ads tied to your Google Business “Order” link, then keep only profitable sources. Add a quarterly photo shoot. Document playbooks for bagging, refunds, and rush roles. Lock a Monday dashboard ritual and keep changes small but steady.
Step 15: Final checklist and quick resources
Before you scale, lock the basics. Your Order Now links should be visible on the website header, footer, and Google Business Profile. Test checkout on a phone. It must finish in three taps with guest mode, Apple Pay, and Google Pay. Keep photos bright and close. Write plain two-line descriptions and set default prep times with throttling for rush. Print clean bag labels with order number, name, pickup time, and any allergy notes. Run one full refund test. Each Monday, open your dashboard, review orders, average order value, repeat rate, and refunds, then make three small changes only. Keep a simple menu sheet, a photo shot list, and a KPI tracker. Ask five happy pickup guests for a review every week. Small tools plus a steady rhythm protect margin and build repeat orders.
Also Read: How to Build an Online Ordering System That Works
Start Your Commission Free Future with iShopo
Start your commission free future with iShopo. Keep more from every order. Pay only standard card fees. No cut on the food subtotal. Your menu, your price, your rules. Own your customer list. Get names, emails, and phone numbers with consent. Send a gentle nudge when you launch a new dish. Reward repeats with a simple stamp or points plan. Small perks bring people back without deep discounts. Make ordering smooth. Fast pages. Three taps to pay. Pickup first, delivery when you want it. Real photos, clear ETAs, and clean receipts. Connect your POS and kitchen printer so tickets land in the right place. Stay in control. Set prep times and throttle busy slots. Adjust zones by time, not distance. Review one dashboard every Monday. Orders. Average order value. Repeat rate. If a number dips, fix one small thing this week. Start with iShopo today. Keep your profit, own your data, and grow on your terms.
Conclusion
You now have a clear playbook to launch, stabilize, and grow. Keep your Restaurant Ordering Website fast, mobile-first, and set to pickup by default. On your Restaurant Website, keep “Order Now” visible in header, footer, and your Google Business Profile. Each Monday, review one dashboard: orders, AOV, repeat rate, refunds. Make three small improvements, then measure again next week. Refresh photos quarterly, retire slow dishes, and protect on-time pickup with tight prep times and throttling. Add simple loyalty once it repeats across ~30%, and send one short email or SMS weekly. Keep marketplaces for discovery, but route regulars direct with QR cards and small pickup perks. Document your bagging, refund, and rush routines so new staff get productive on day one. Small, steady changes compound. That is how your site turns into a reliable sales channel you can plan around.
FAQ’s
1. Can I build my own website for free?
You can start on a free tier, but you will see platform ads, limited features, and no custom domain. For a serious launch, budget at least a low paid plan and your domain. It looks cleaner and converts better.
2. Do I have to pay a monthly fee for a website?
Usually yes. Builders and ordering platforms charge a monthly fee. You will also pay card processing on online orders (often ~2.9% + $0.30). Custom sites still need hosting and occasional maintenance.
3. What is a reasonable budget for a small business website?
A practical starter budget is $300–$1,500 upfront (template, photos, copy) plus $20–$150/month for software, hosting, and domain. Add more only after orders grow and you see repeat buyers.
4. How much does it cost to create an app for a restaurant?
Branded app add-ons from ordering platforms often come in at $99–$299/month. A fully custom app can cost $8,000–$40,000+ to build, plus updates. Most small restaurants should prove web ordering first.
5. Which order management system is best?
The best one fits your POS and team. Look for real menu sync, order throttling, kitchen printers, driver dispatch, and clean reports. Test on a phone at peak. If tickets print right and checkout takes three taps, you are close.
6. What is a restaurant ordering system?
It is the software that lets guests browse your menu online, customize, pay, and choose pickup or delivery. It sends orders to the kitchen, prints the right tickets, updates status, and settles payments to your account.